 Real
Product
Lock
AI builds a beautiful scene, but it always redraws the product a little. So I let AI do the scene and keep the packshot real, pixel for pixel
 AI
Real
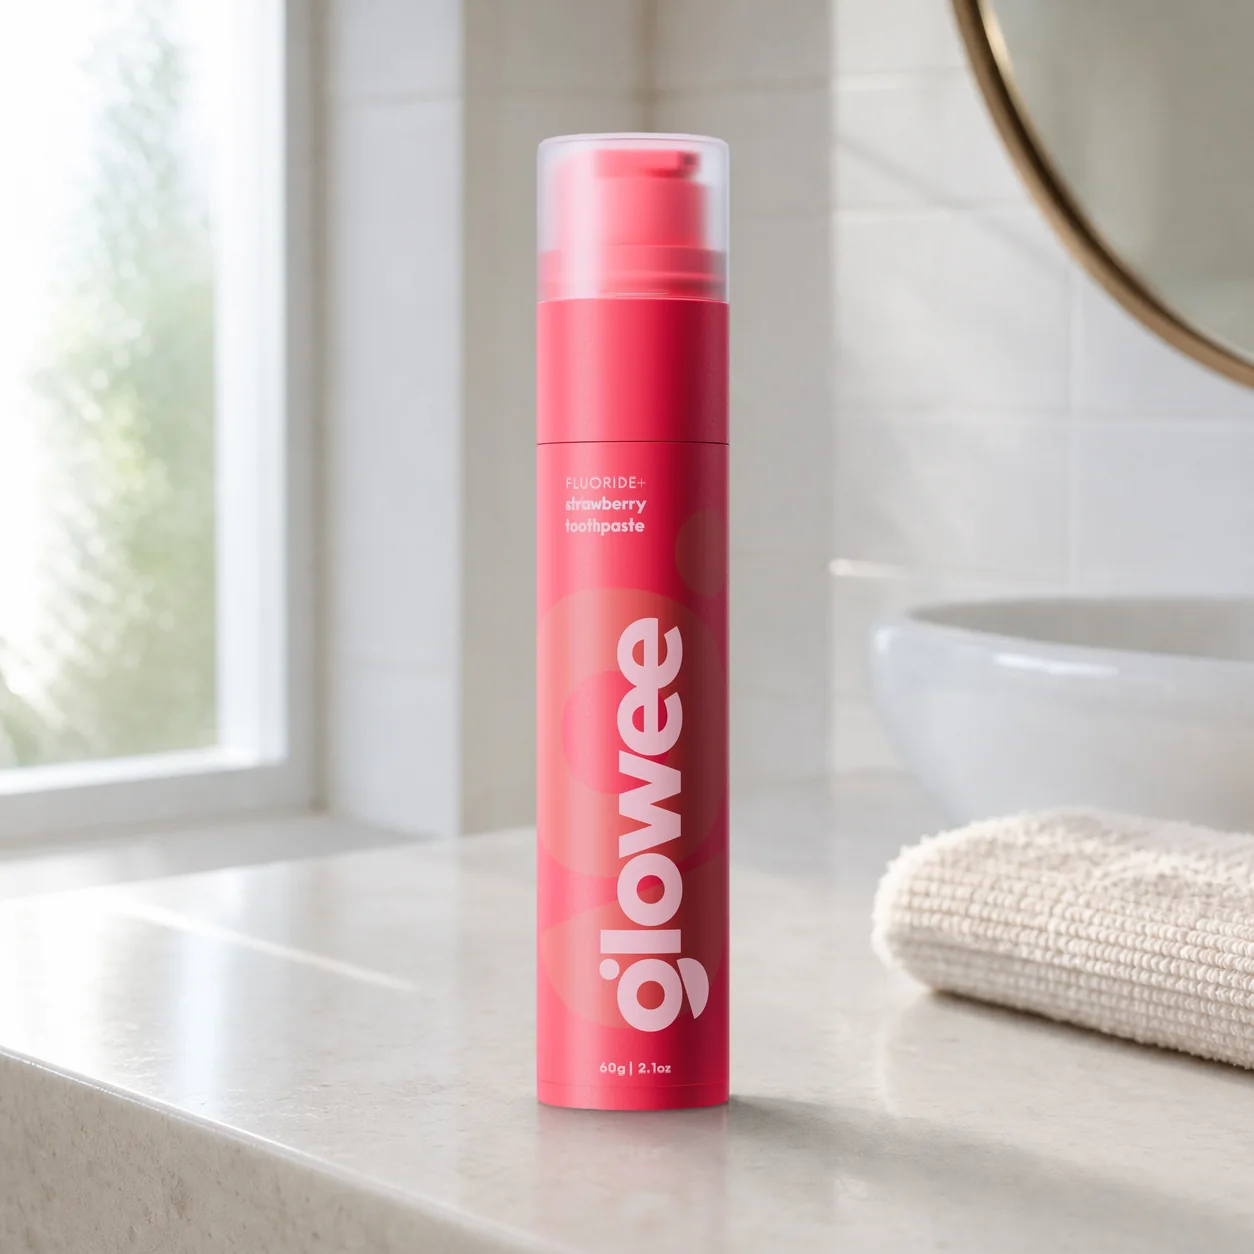
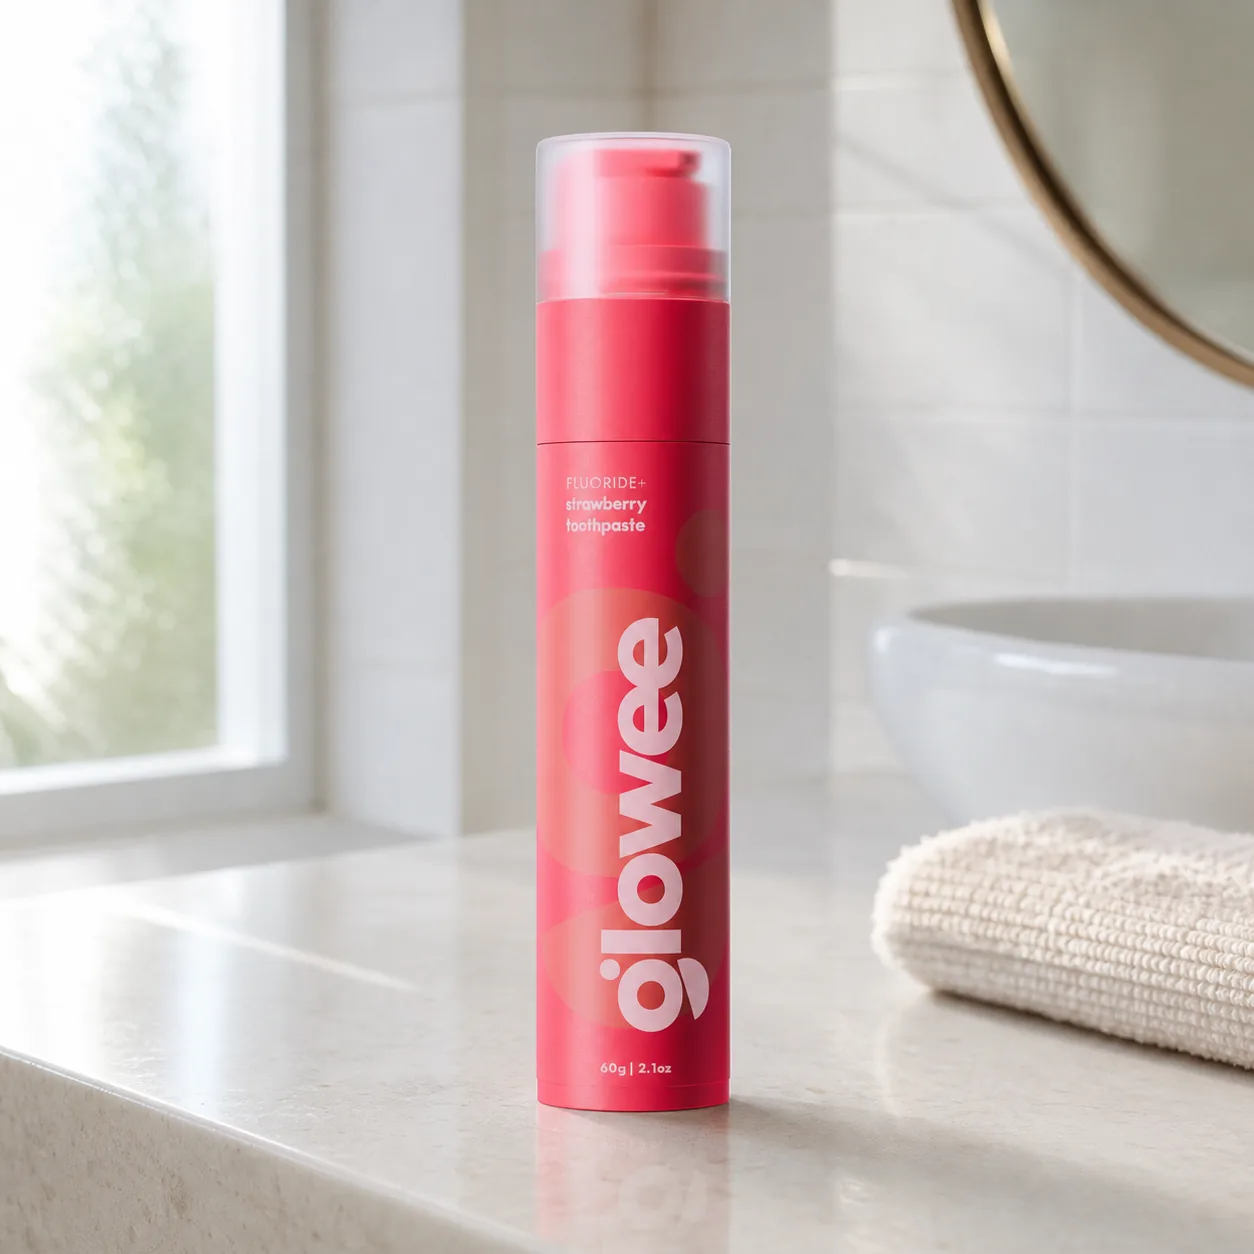
AI vs real, same frame
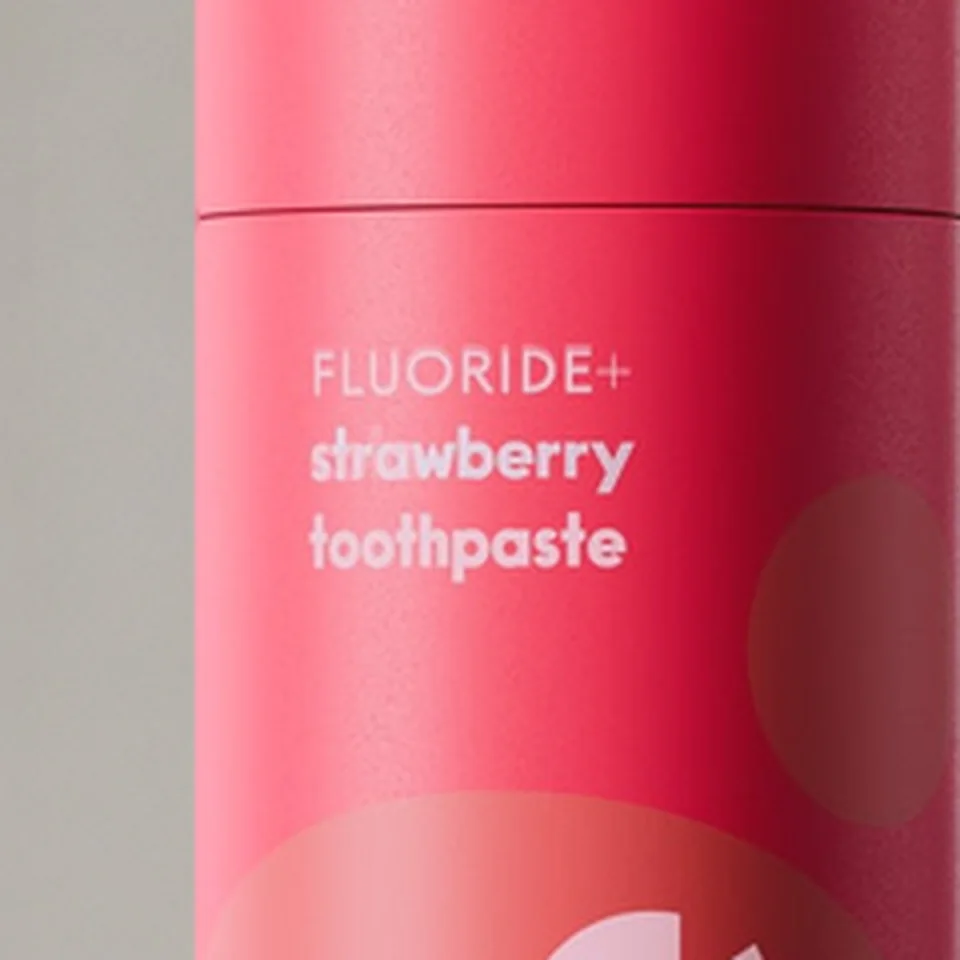
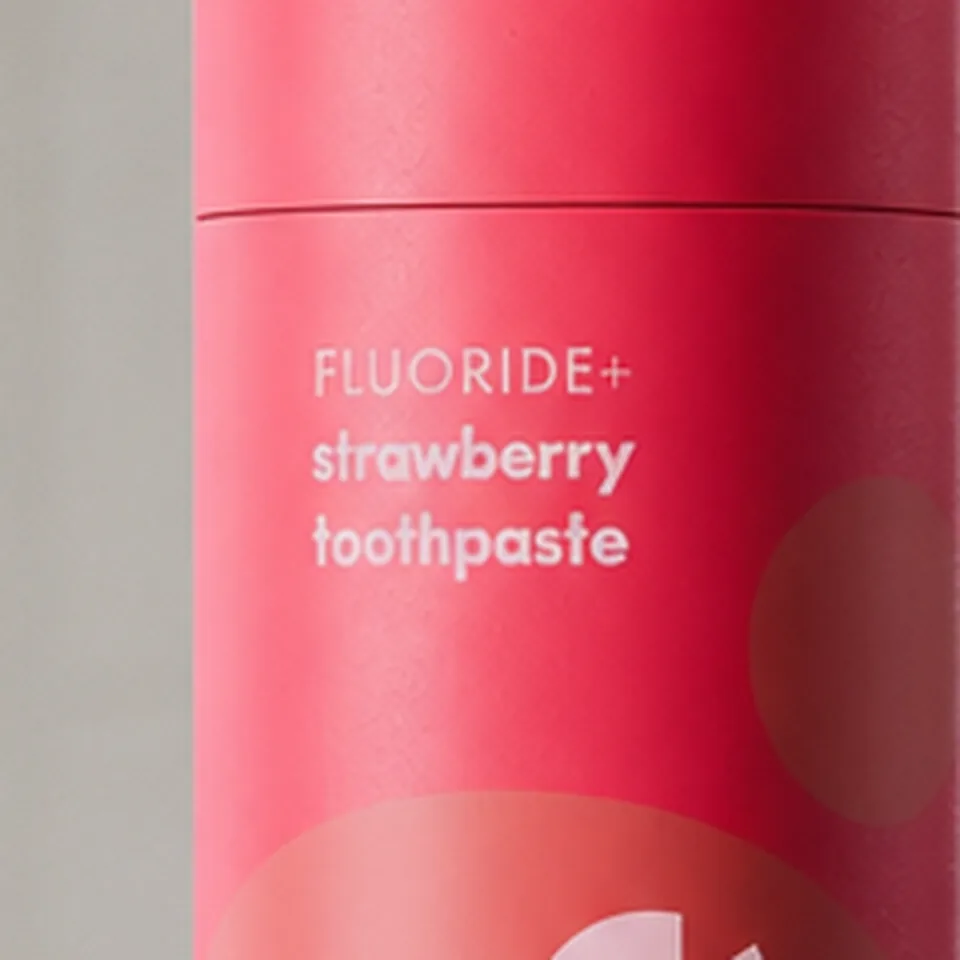
Left, GPT Image 2 redrew the tube. Right, the real packshot on a clean plate, with its shadow and reflection rebuilt in Photoshop. The bathroom and its light are AI on both sides.
 AI
Real
Label, 4x
The AI turns the print into clean flat type
 AI
Real
Base, 3x
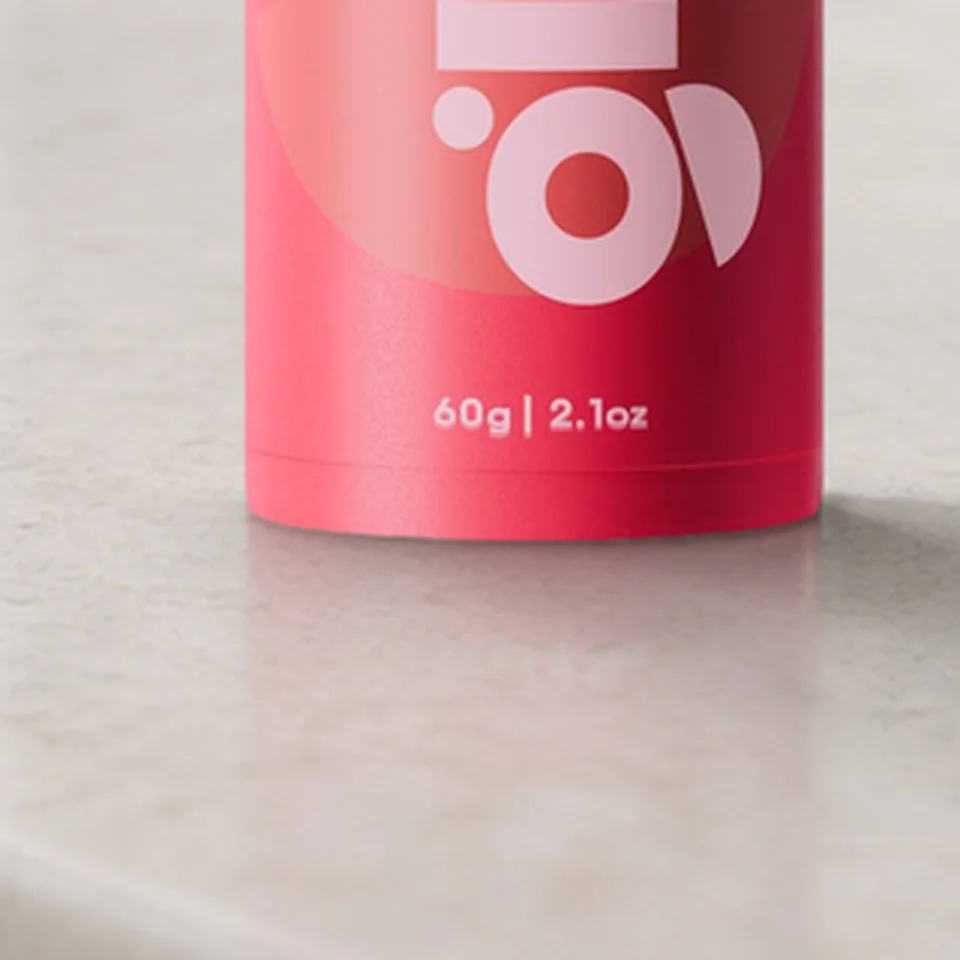
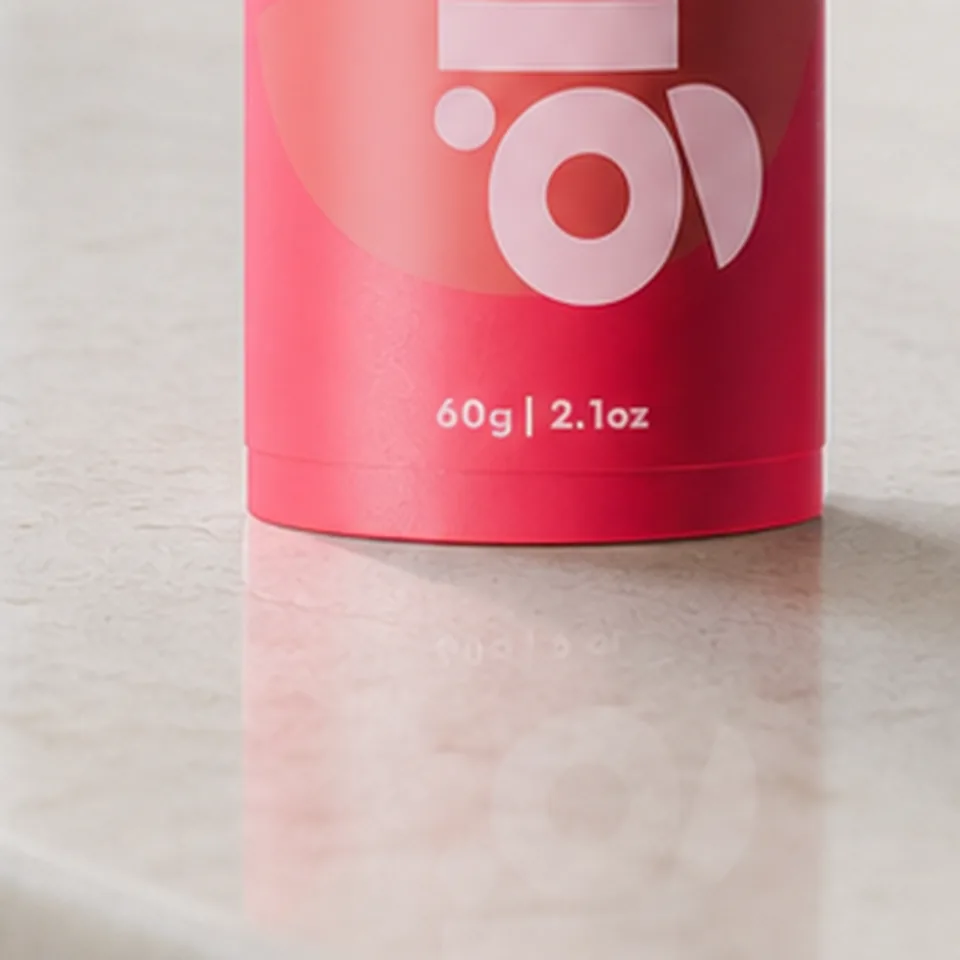
GPT's own shadow and reflection left, the rebuilt ones right
The scene and its light are AI. The product is the real packshot. The shadow between them is built in layers
Real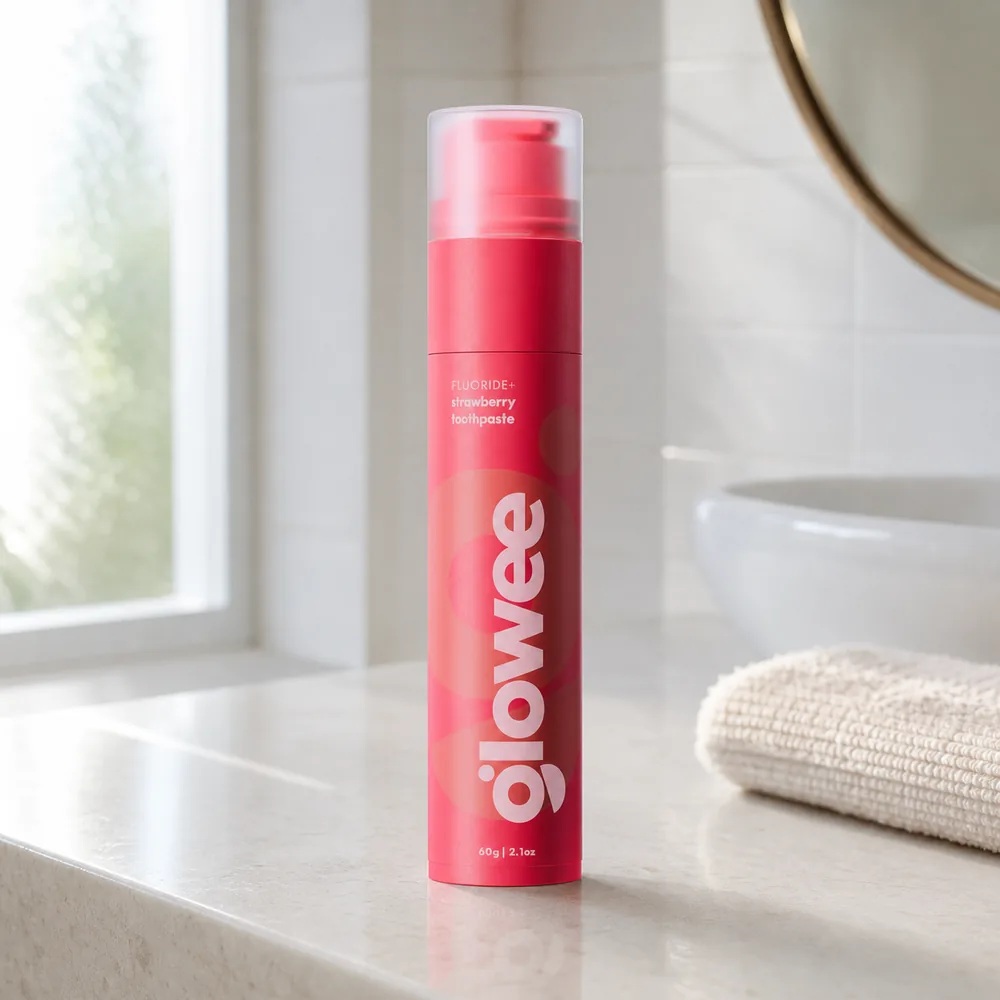 GPT Image 2
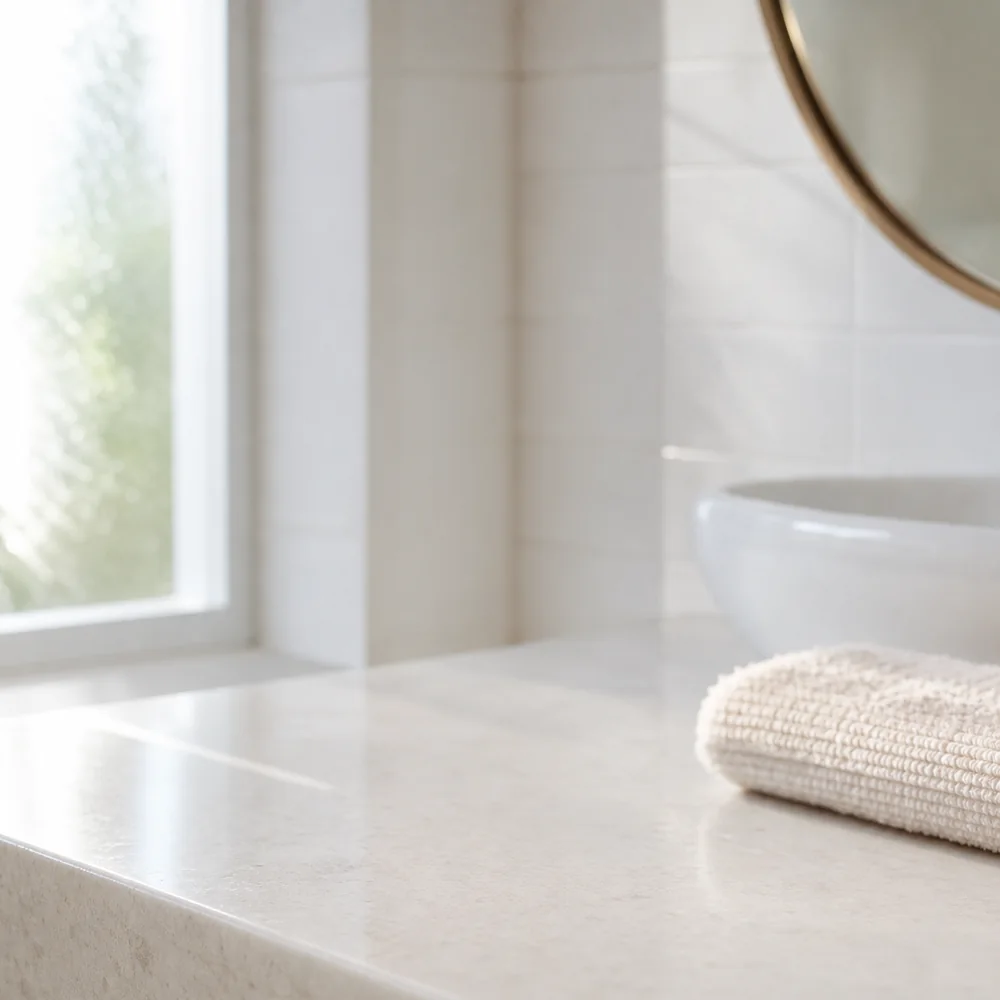 Bria, clean plate
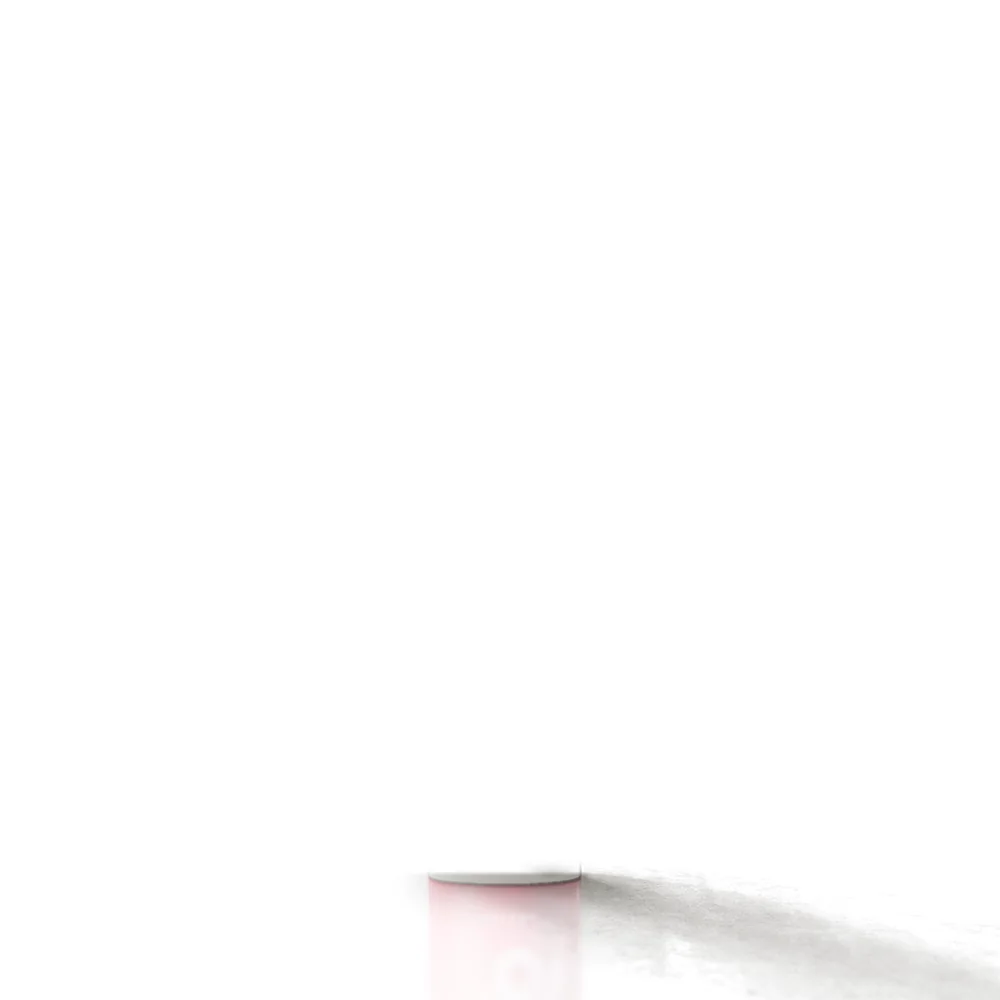 Photoshop, built
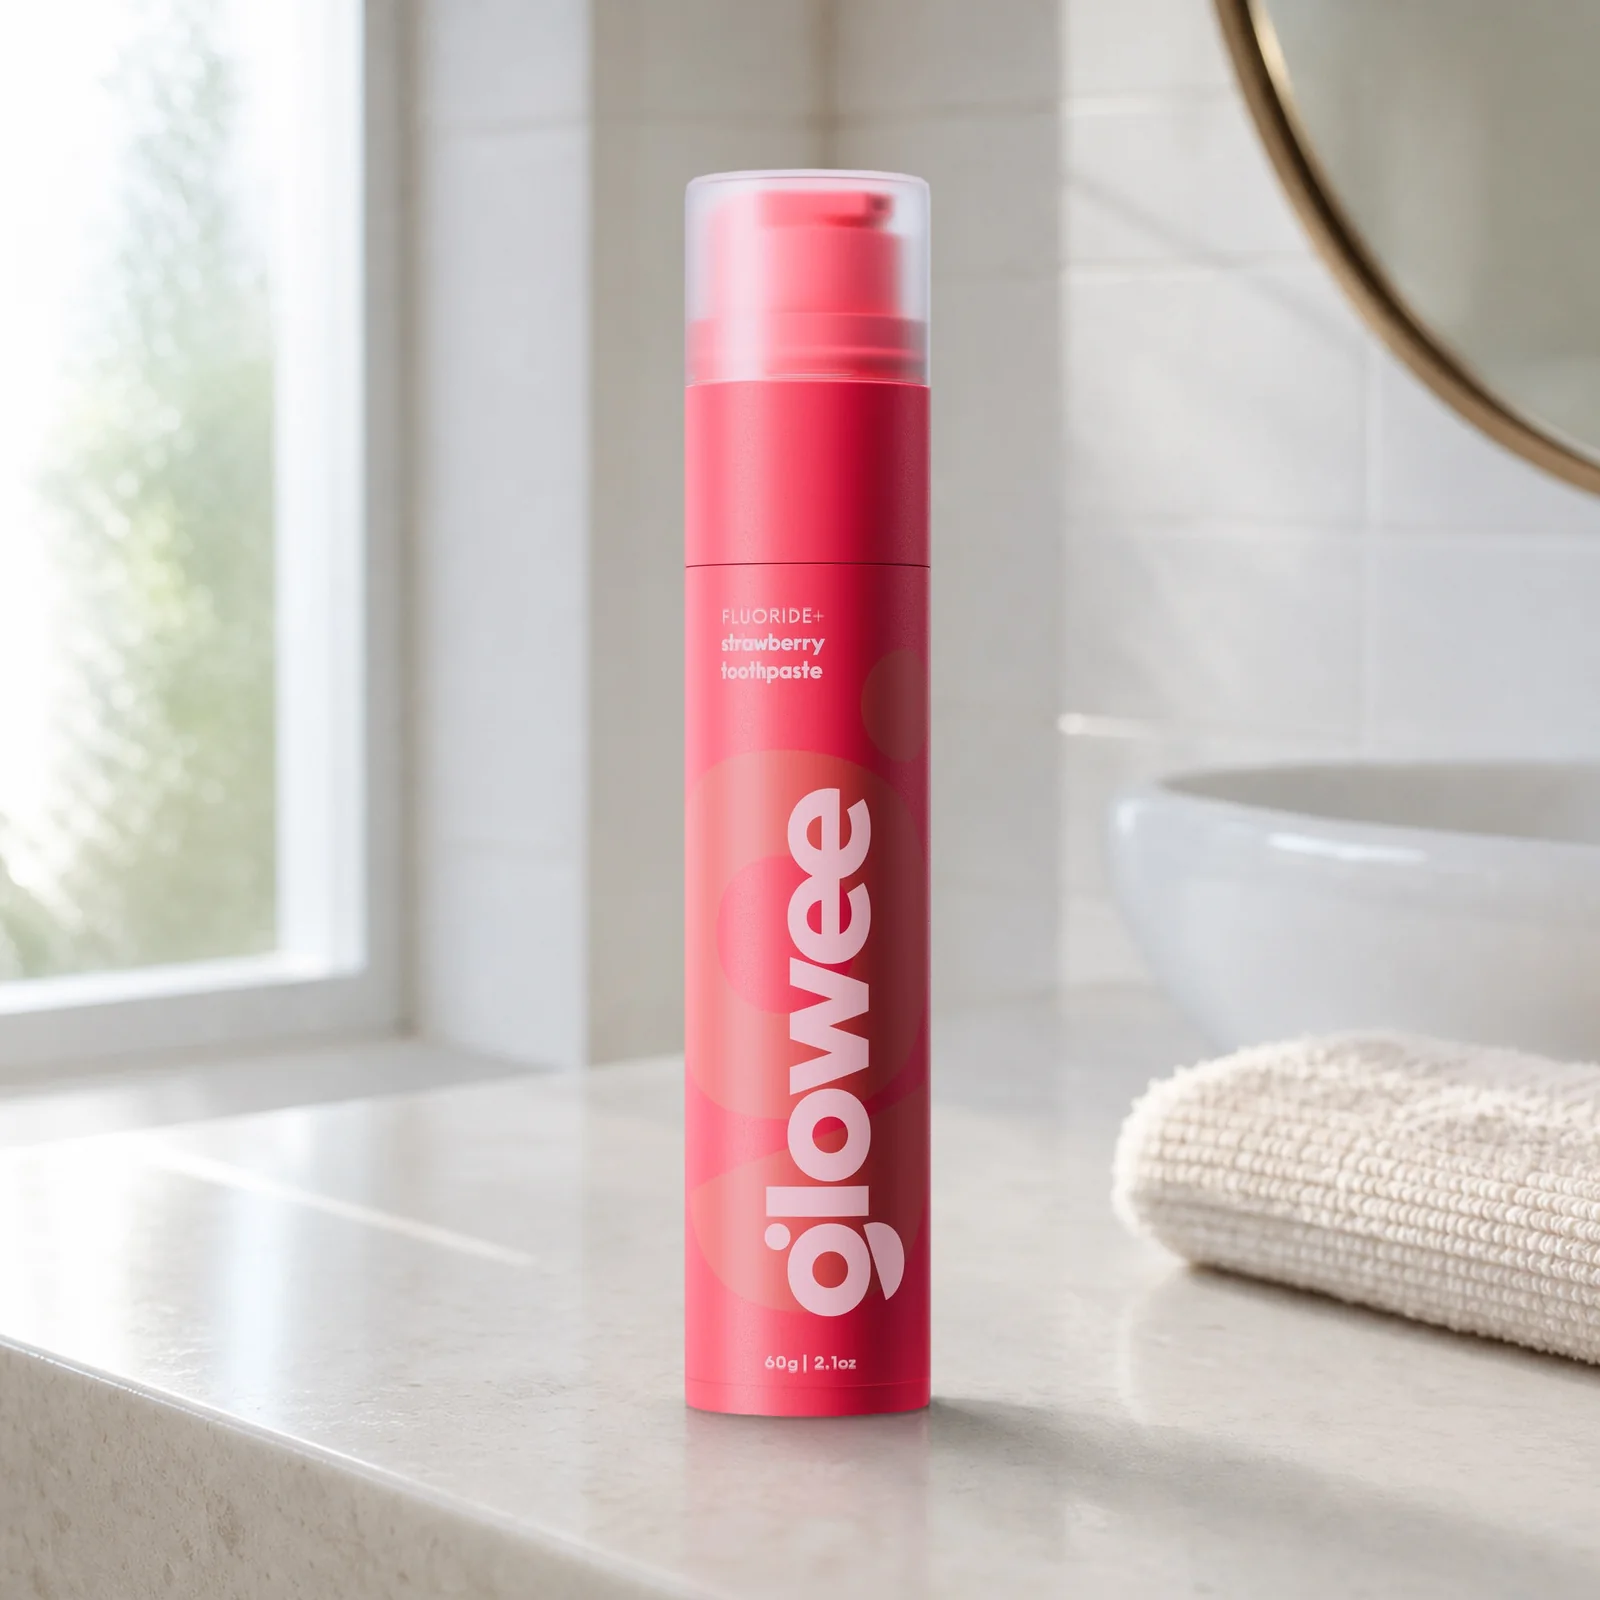 AI scene, real product
The graph, built node by node in Figma Weave. Six numbered groups: cut-out, AI scene, clean plate, Photoshop layers, lock and final. Masks, compositing and grain are free. The AI scene and the clean plate cost about 14 credits a run
No lock without a clean plate. Where GPT draws the product wider, it shows behind the real one
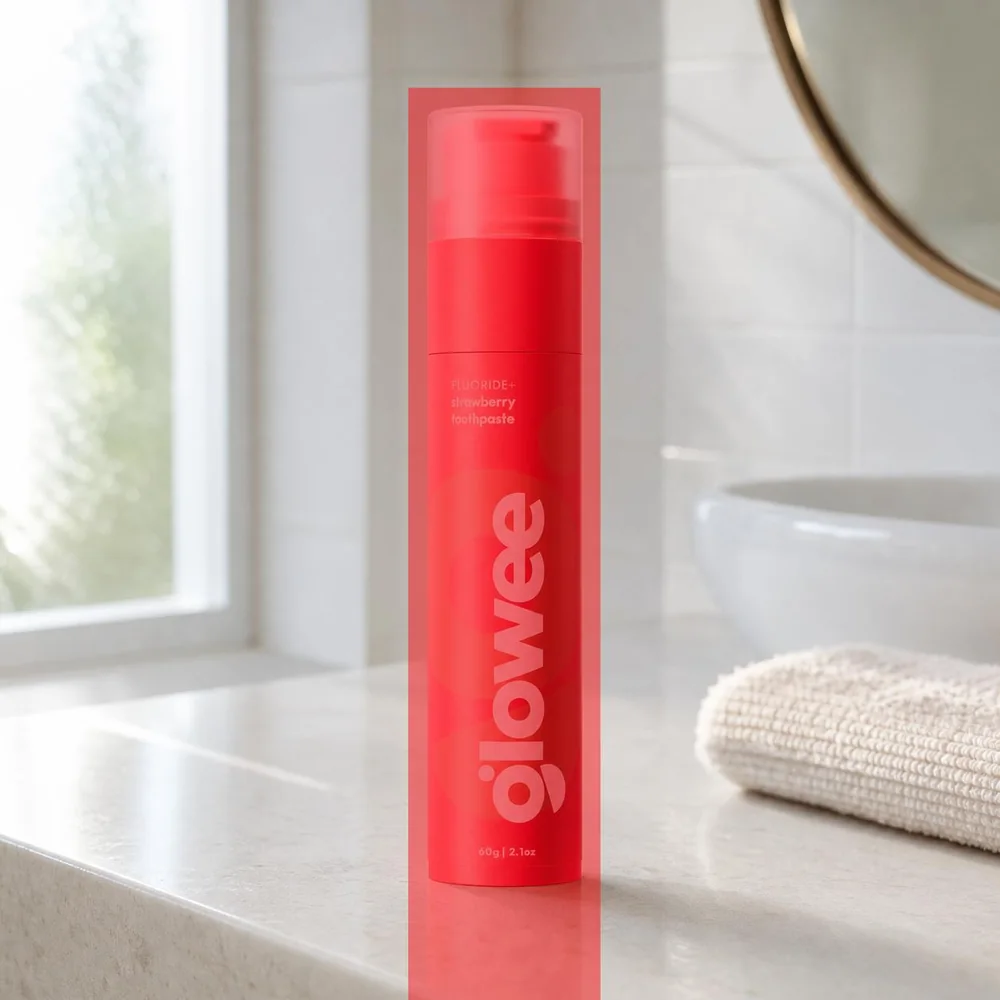 GPT Image 2
First mask: tube and reflection
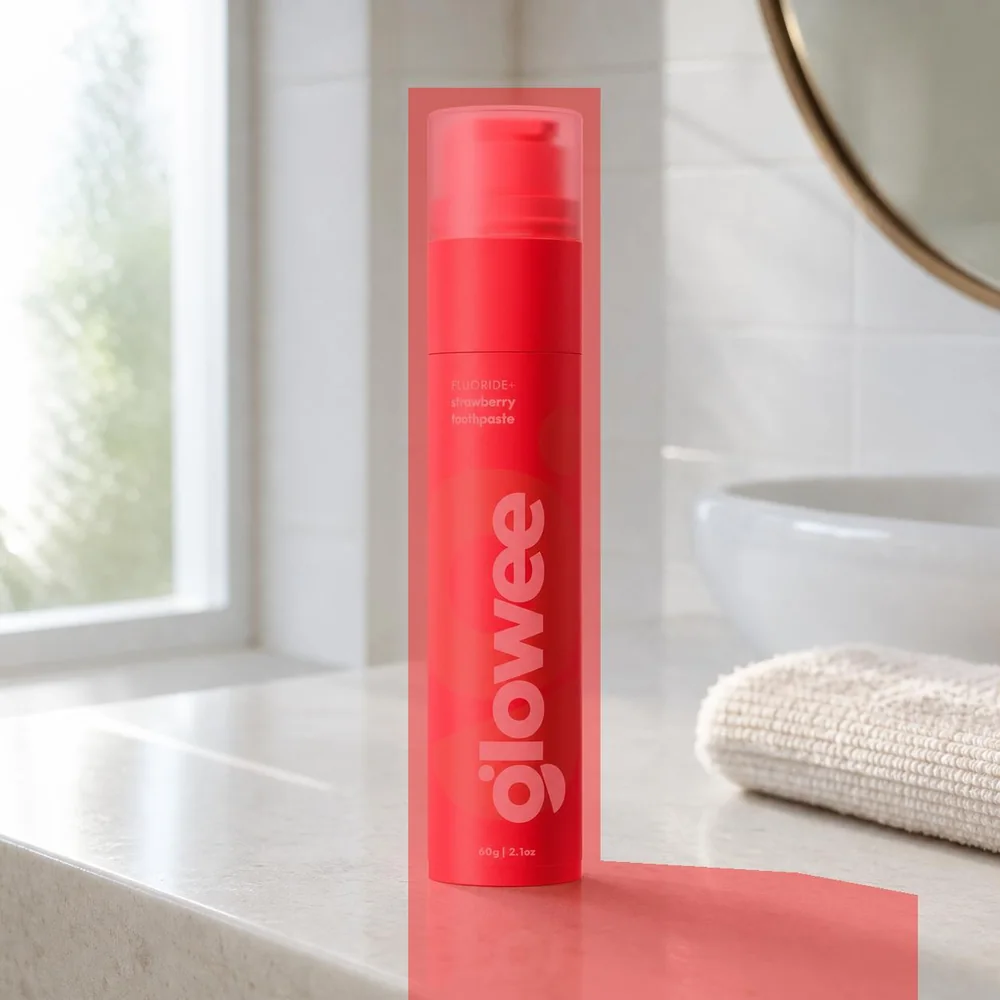 GPT Image 2
Second mask: the shadow too
Bria
Clean plate, 5 credits
Bria Content-Aware Fill erases everything GPT's tube did to the scene: the tube, its reflection and its cast shadow. The real product then lands on an empty counter
1 The first mask took the tube and its reflection only, and cut GPT's cast shadow with a hard edge. The second one takes the shadow too
One corner of the plate still needed a small retouch in Photoshop
No single tool does everything. Knowing when to switch is the skill
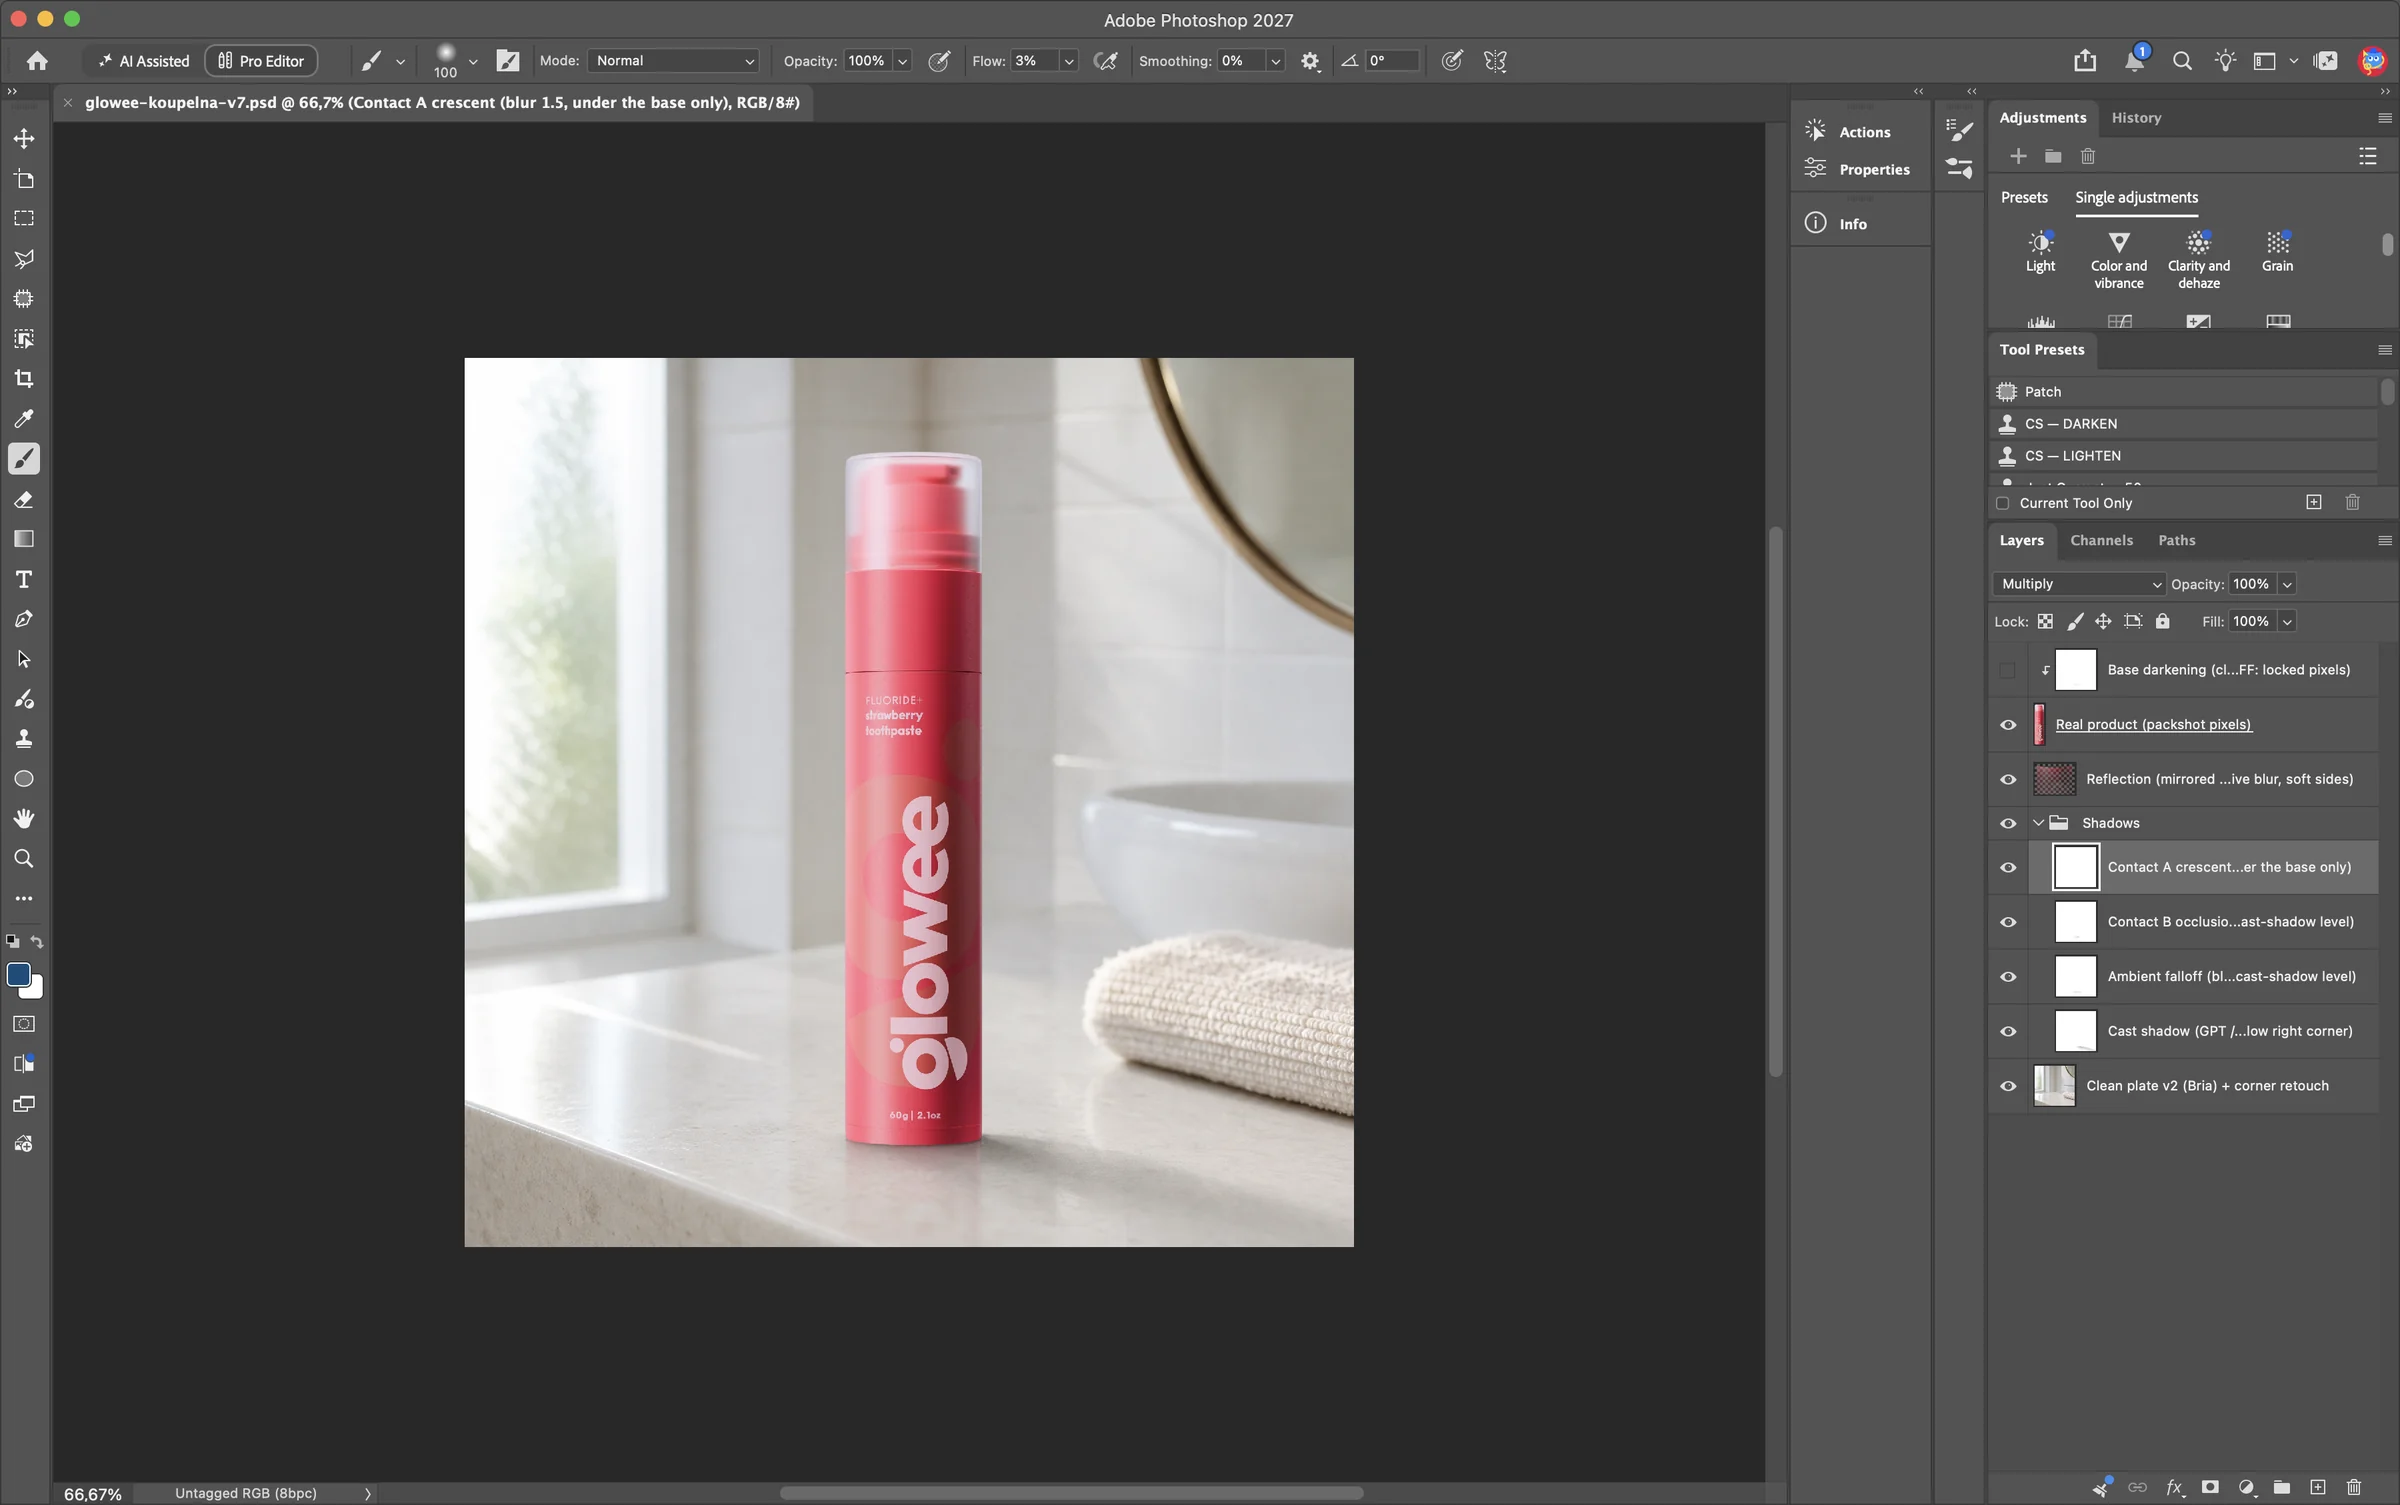 Photoshop
Bria Inpaint tried the shadow first: five runs over the plate, no convincing contact
So the shadow is built in Photoshop. The clean plate sits at the bottom, four Multiply shadow layers in a group above it, then the reflection, and the real product on top
Base darkening stays off, so the product pixels stay 1:1 with the packshot
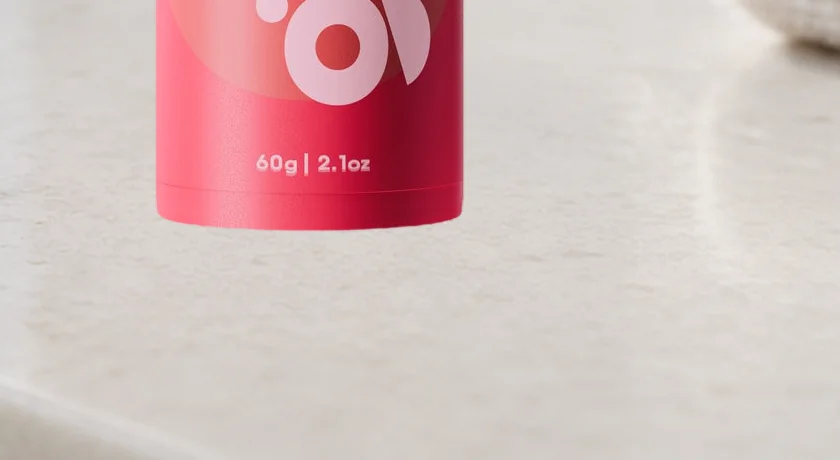
No shadow, the tube floats
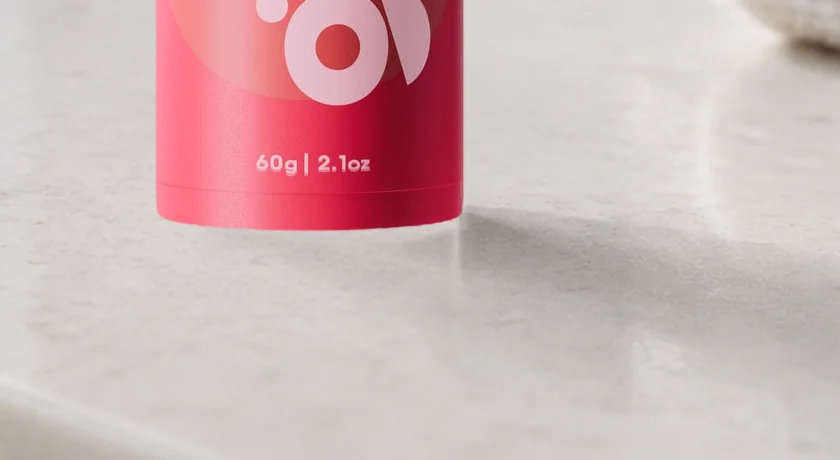
Cast shadow, from GPT
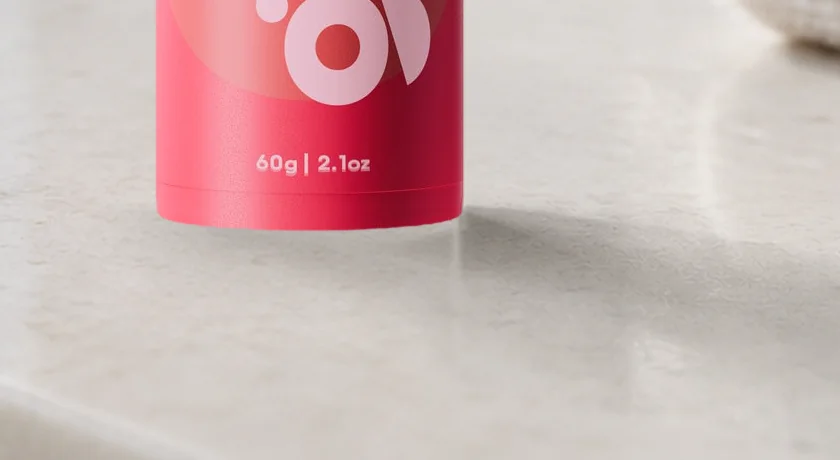
Ambient falloff
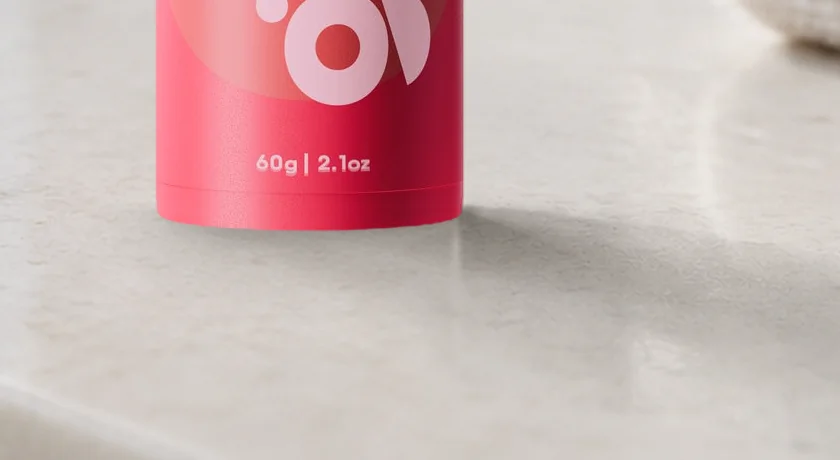
Occlusion
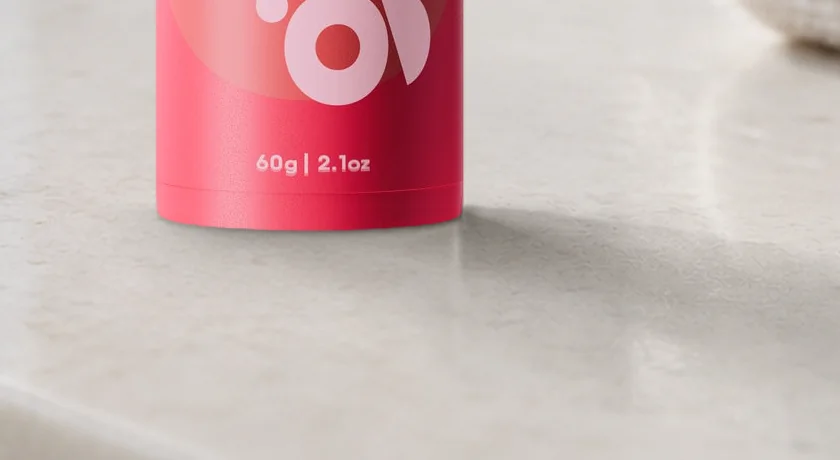
Contact line
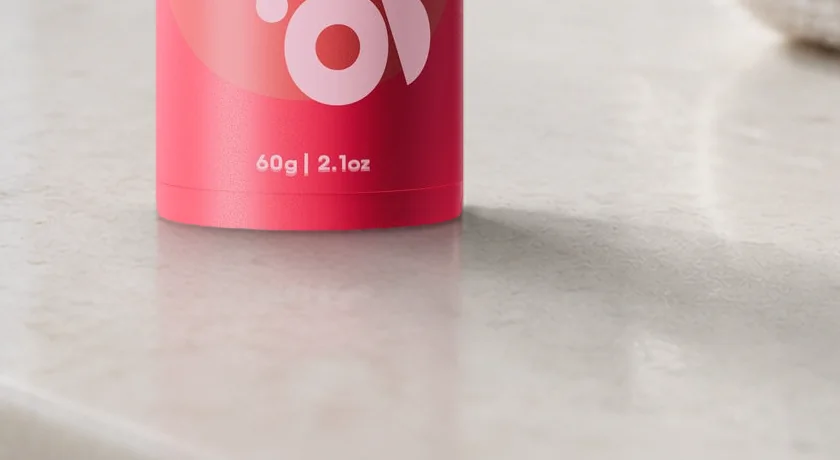
Reflection, the real tube mirrored
Layer by layer, from the bare plate up. Each layer has one job
1 Cast shadow is the only layer taken from GPT: its scene divided by the clean plate, cleaned to a neutral grey
2 Ambient falloff is a wide, faint patch around the base
3 Occlusion is the real tube's own silhouette, dropped a few pixels, leaning away from the window
4 Contact line is the same silhouette, thinner, so it hugs the rounded base
5 Reflection is the real tube mirrored column by column, fading and blurring with distance, fitted to GPT's reflection
Two days and six rounds in Photoshop. Most of the time went into dead ends
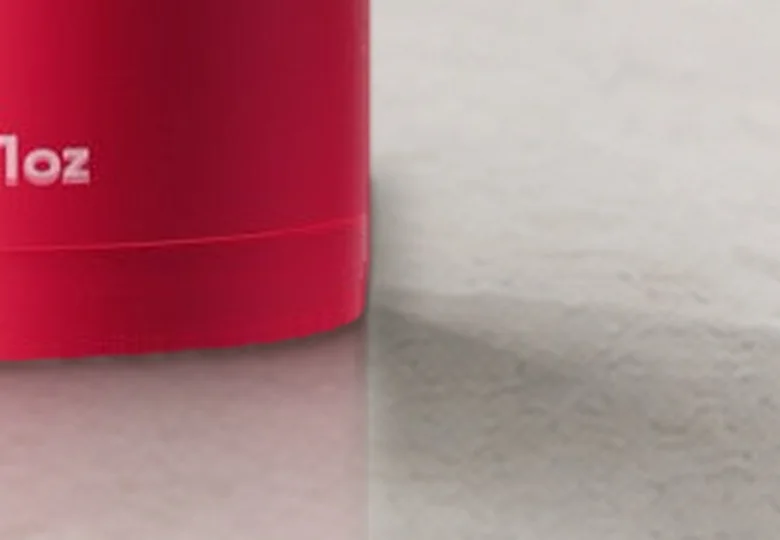
Up the side, before
The contact layers ran up the tube's vertical edge, where the light counter shows. Nothing belongs there
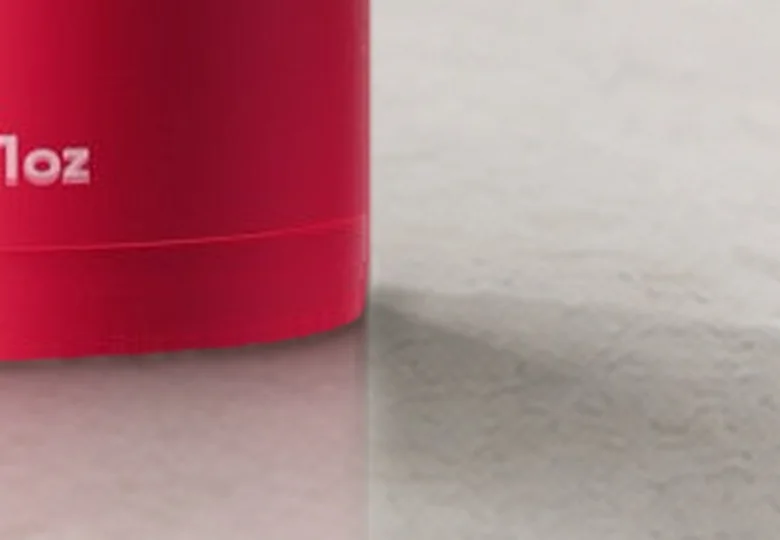
Up the side, after
Contact stays under the base. Beside the tube the shadow starts only where the cast shadow does
A shadow doesn't end under the product just because the surface reflects
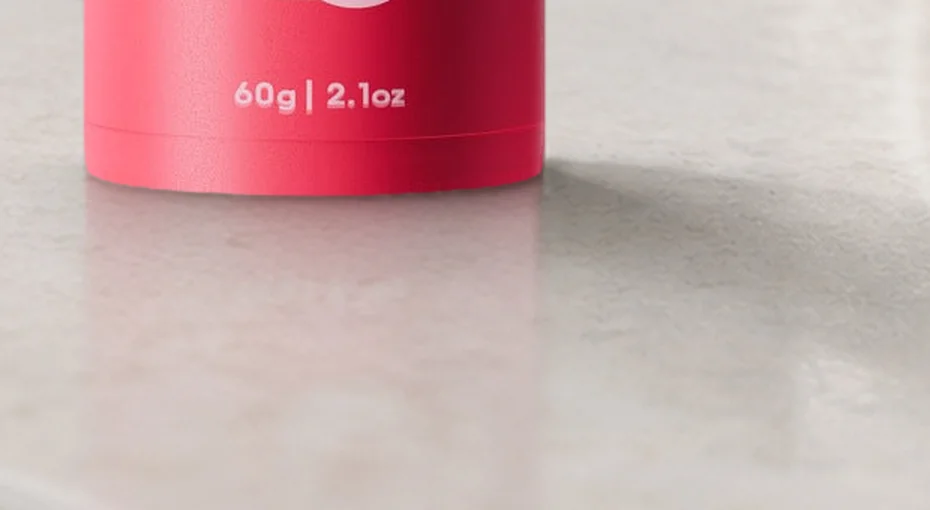
Under the reflection, before
The cast shadow stopped at the tube's edge, as if the reflection had replaced it
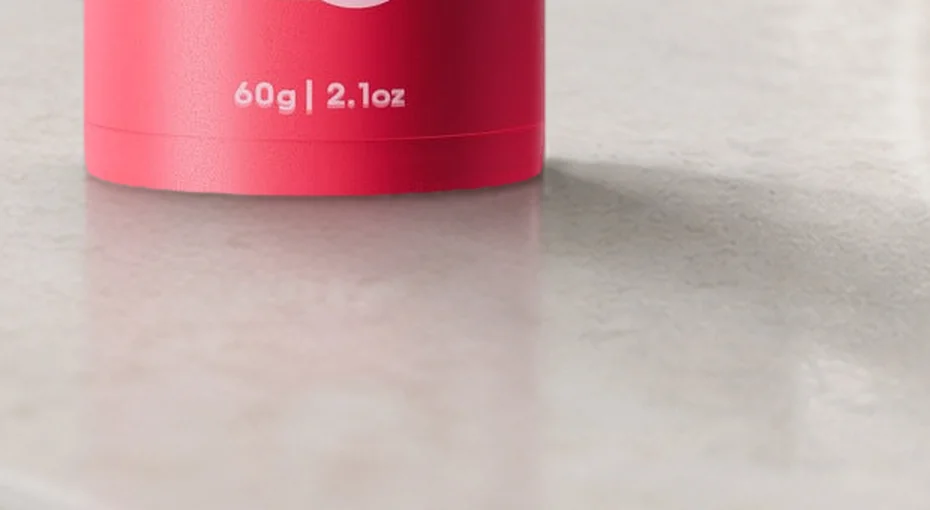
Under the reflection, after
The shadow runs on under the product and the reflection sits on top of it, at the density GPT gave it
Real
Packshot
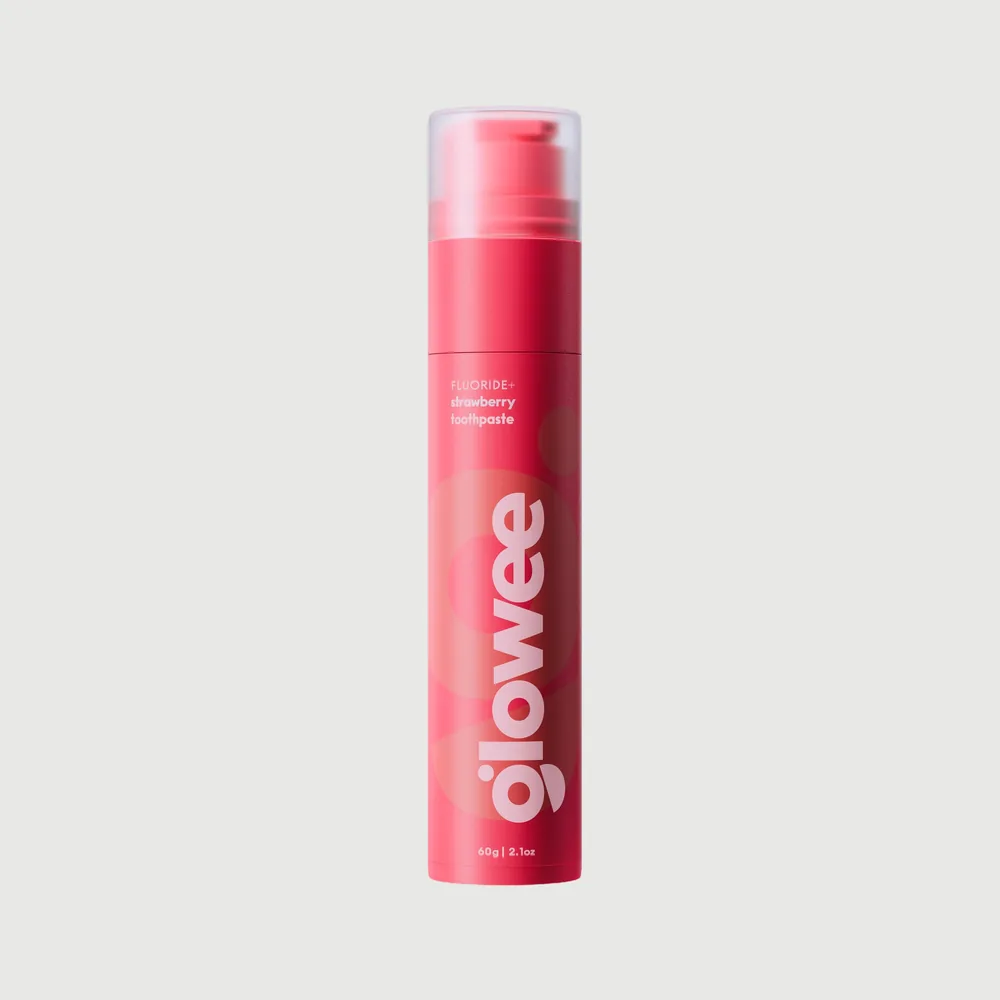
The product is the client's own packshot, cut out in Weave with a pen mask. No AI touches it
AI-Built
Scene
GPT Image 2 builds a bathroom around our packshot. I keep its scene and its light, and read its shadow and reflection as the reference
Clean
Plate
Bria erases GPT's tube, its reflection and its shadow, so nothing of the AI product can show behind the real one
Shadow
Stack
Built in Photoshop over the plate: a cast shadow taken from GPT, contact layers from the tube's own silhouette and a mirrored reflection. Back in Weave they are Multiply layers
Locked
In Place
Our real tube goes on top, exactly where GPT stood its copy. Its label stays original, pixel for pixel
Mask
Review
Back in Weave the cut-out ended 5 px above the Photoshop contour, and the light plate showed under the tube. A copy of the cut-out, 5 px lower, closes the base
Film
Grain
Film grain over everything ties the real and the AI pixels together. Then an A/B against raw GPT
Try it on your own product in Figma Weave
Drop in your packshot, describe the scene, run. The shadow is one step in Photoshop